How do I create a Dial List from selected records in a view?
Using Connect you can create a Dial List from records that you select in a view—this view can be a view containing existing call records or any other Salesforce object view that has a Create Dial List button. When you create a Dial List from a view, that Dial List is static and Connect does not refresh the list. For information about dynamic Dial Lists, see Dynamic Dial Lists.
Before you can create a Dial List from a view, you must create a view that contains the customers or calls that you require in your Dial List.
To create a Dial List from any of the views, perform the following steps:
Open the appropriate view and select one or more records that you want in your Dial List.
Click Create Dial List. Create New List appears.
On the Create New List page, provide the following values:
FieldDescriptionList Name Type a suitable name for the Dial List that will make the list identifiable later. The value is not unique. Phone Field Select the phone number field whose contents appear in the Primary Phone field in call records created in association with this Dial List. Connect uses this phone number if available. Alternate Phone (optional) Select the phone number field whose contents appear in the Secondary Phone field in call records created in association with this Dial List. Connect uses this phone number if the Primary Phone field is empty.
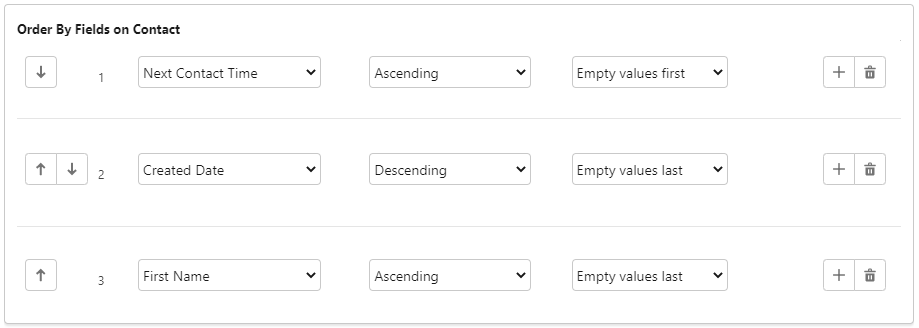
Click Next. The Order by fields section appears.Optional. In the Order by fields section, define the order in which you want the call records to appear in the Dial List.
- In the first field, select the detail used for the first sort option—the available details are determined by the type of Dial List you are creating.
- In the second field, select the sort order.
- In the third field, select whether empty values should appear first or last in the Dial List.
Click Save. Your new Dial List appears.
Before you or any assigned agents can use your Dial List, you must complete the following tasks: You can also edit filters (where applicable), change the priority of a Dial List, set permissible call times, and edit custom fields. For information about these tasks, see Editing a Dial List.


